How To Do Manicure At Home
A well-manicured hand can speak much more about your personality than you can ever imagine. It adds that extra edge to your appearance while giving you soft and beautiful looking hands. Besides making you look sharp, good manicure pedicure sessions are also very calming and de-stressing.
Indulging in this therapeutic hour does not always require you to run to the salon and spend exorbitant amounts. You can do one from the comfort of your home.
How To Do A Manicure At Home: Step-By-Step Tutorial
Using a manicure kit and a few skills up your sleeve, you can get a salon-like manicure. DIY procedures are not just cost-efficient but also very relaxing and effective. Get those well-groomed nails with our step-by-step guide to pull off a manicure at home.
Step 1: Gather All Essential Tools

Gather all essential manicure tools to ease your process before you get to work on those gorgeous hands. You’ll need a list of the following:
- Cotton pads
- Nail polish remover
- Nail clippers
- Nail buffer
- Nail filer
- Cuticle remover
- Hand moisturizer
- Basecoat
- Nail polish
- Clear coat
Step 2: Remove Any Previously Applied Nail Polish

If you’re wearing an old nail paint, use a non-acetone polish remover to take it off. Avoid an acetone polish remover as they can dry your nails. Wash your hands thereafter.
Step 3: Trim And File Your Nails

Use a nail clipper to trim your nails and shape them thereafter with a nail filer. You can pick round, square and even oval edged nails. Use a gentle force to file your nails to avoid breakage and rough edges. Smooth the top and sides with a nail buffer to ensure an even surface. Do not smoothen it so much that the nail paint doesn’t stick to it.
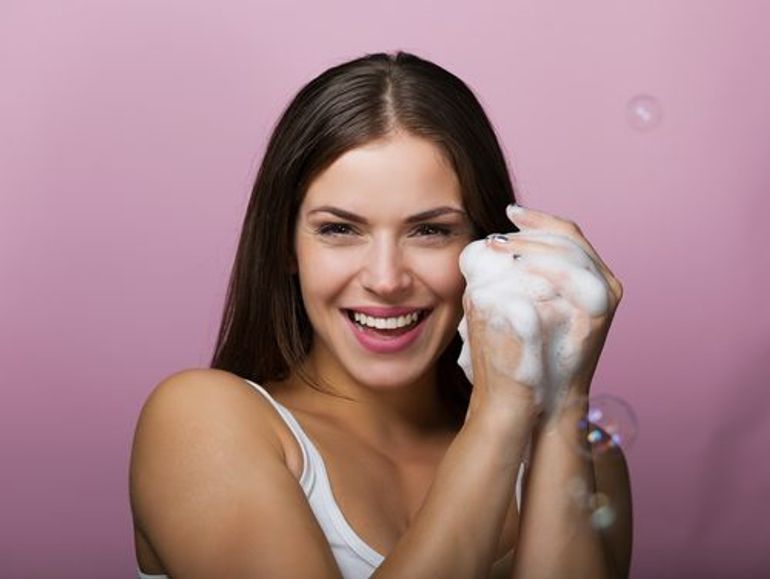
Step 4: Soak Your Nails

This is the part where your hands experience relaxation. Fill a big bowl with warm water and add a mild cleaner or shampoo to it. Soak your hands in the water for approximately 3 minutes as over-soaking can damage the skin and nails. Use a gentle brush to clean the nails and skin to remove dirt and dead skin cells. This step will also prep your nails for easy removal of cuticles.
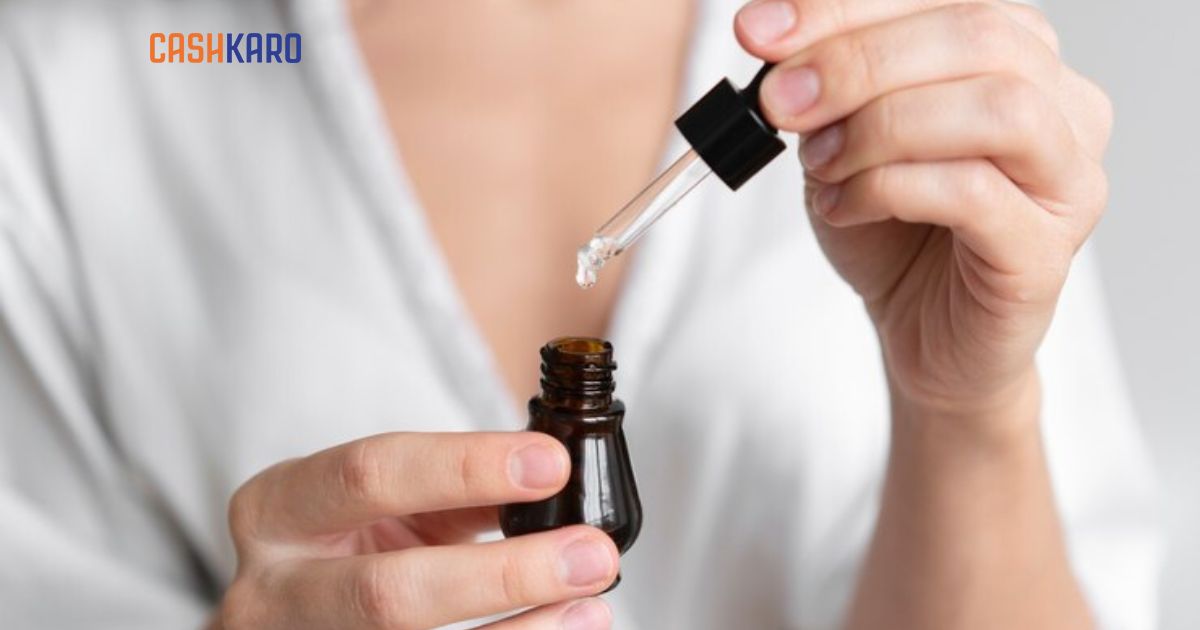
Step 5: Push Back Cuticles

Apply a cuticle cream on the thickened skin around your nails and use a cuticle remover to push back the cuticles. Do not push them with a lot of force as it can harm you and cause other infections. Once you’re done pushing the cuticles, you may use a wipe to clear any excess cream clogged in the corners.
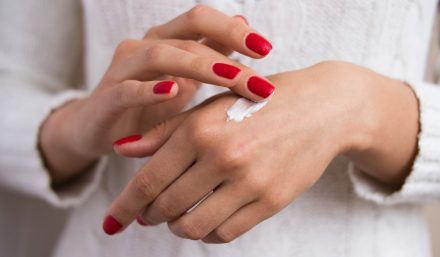
Step 6: Moisturize Your Hands

Hydrate and replenish your skin with an intense and silky cream. Apply the cream on your cuticles and hands to moisturize. Massage it lightly to smoothen the texture and nourish your skin and nails.
Step 7: Prep Your Nails For Polish

Wipe off excess cream before heading to the next step. You may use a cotton pad to clean your nails.
Step 8: Paint Your Nails

Use clear nail paint as a base coat to make your nail polish pop. This also prevents your nails from getting stained, chipped and makes the color last longer. Once through with the top coat, apply the color of your choice in a vertical layer letting each coat take its own time to dry. Roll the paint bottle before application. Finish it off with a final coat of clear nail paint to add gloss.
Step 9: Reapply Moisturizer
Moisture your hands and nails with a rich cream to finish your manicure session. This will make your hands look fresh and healthy.
Tips To Remember While Doing Manicure And Pedicure At Home
- Make sure that you buff the edge of your nails for a finer finish
- While painting your nails, use two coats of nail polish to make it last longer
- Apply heat to dry your nail polish
- Moisturize your nails after removing old nail paints as the polish remover may dehydrate your skin
- Do not let the nail paint stay on for more than two weeks as it leads to discoloration of the nails
- Do not shake the nail paint bottle as it may add bubbles to it
In addition to this we would also like you to check our latest blog where we have mentioned some of the best ways to lose arm fat with simple exercises at home. Do have a look and let us know if you find it helpful.